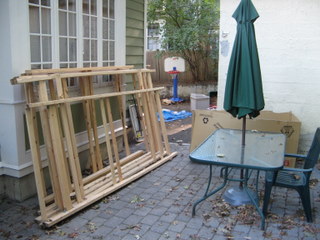
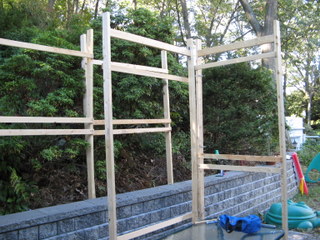
Here are some of the frame sections awaiting deployment.
Some notes from this year's sukkah assembly. These are partly to share with our friends and others who may be interested in our design, and partly as a reminder for ourselves so next year it'll go a little faster.
Our sukkah almost completely encompases our patio; it's 12' wide and almost 8' deep to the retaining wall. Our design has a structural frame in front of the retaining wall and a curtain wall behind it, which allows us to use the top of the retaining wall as a sideboard.
The frame of our sukkah is made up of sections constructed from 2x4s and roughly 4' wide and 10' tall. Most sections have two pairs of rails made from 1x3s; on these rails rest panels (two per section) made of plywood. The frame provides the structural support; the panels provide the halachic partition that constitutes a "wall" but are not themselves load-bearing.
Here are some of the frame sections awaiting deployment.
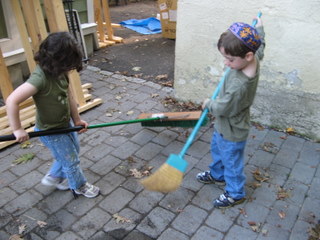
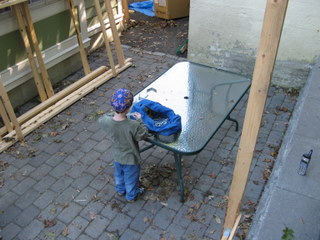
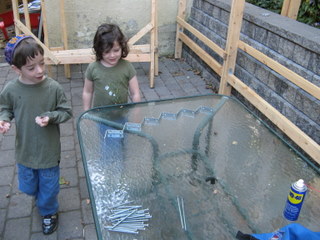
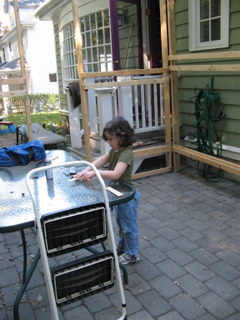
The kids love to help; in this case by sweeping the patio in preparation for construction.
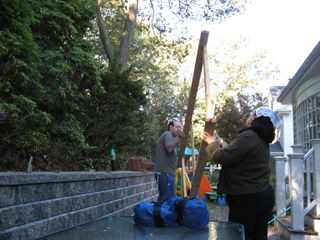
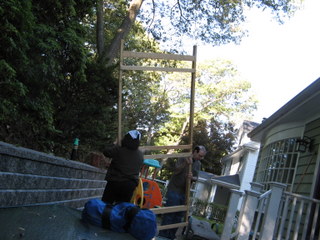
The first frame section goes up. (Photographs by Tani)
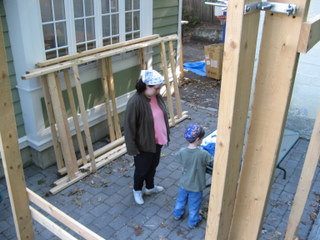
The kids hold up the first section while we get the matching corner piece
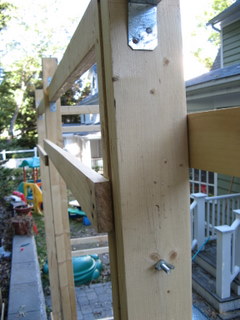
The first corner is completed. The angle brackets are installed with the bolts always facing where they won't be seen; in this case, the section on the left will be covered by a panel but the section on the right will be left open (it is by the retaining wall) so the bolts have to go the way you see them.
Another view of the first corner, looking down from the retaining wall.
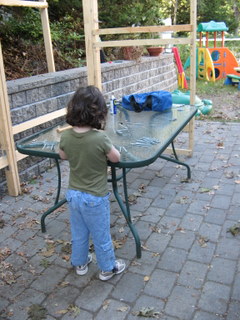
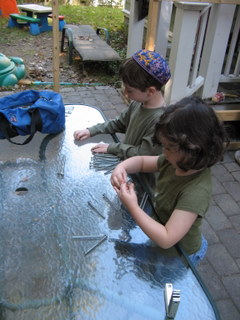
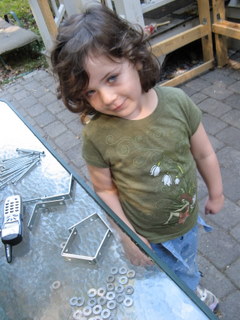
Meanwhile, the kids are sorting pieces of hardware for us from the duffel in which everything gets tossed at teardown.
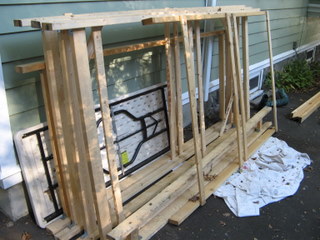
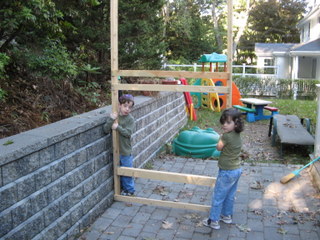
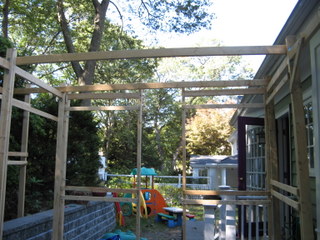
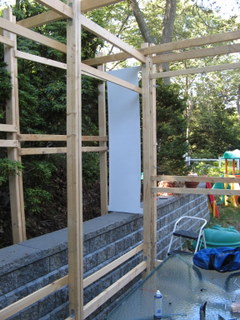
The frame for the side of the sukkah away from the house is complete. This view, from the driveway, shows the inner structural frame and the return on the far corner, and behind it, the sections for the curtain wall (which are leaning on the bushes at the moment.)
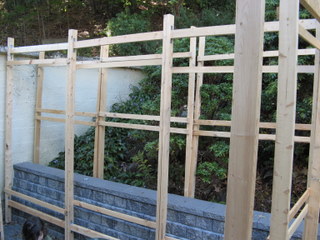
The view from the porch.
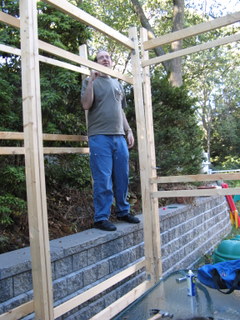
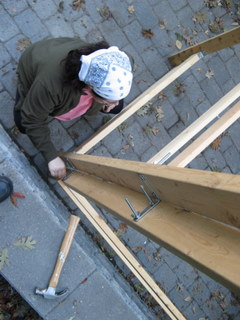
Andrew tightening the connections.

The view along the retaining wall, from where Andrew was standing, looking towards the garage. The curtain wall is to the right.
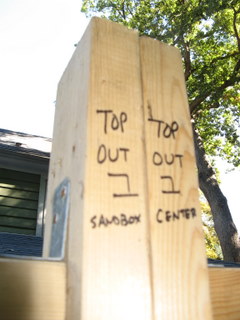
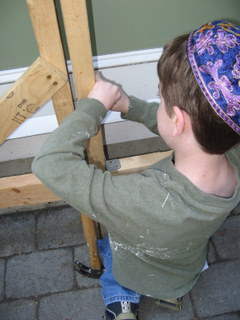
This year, we re-did the markings with a Sharpie.® (The old pencil marks were getting hard to read.) In memory of the mishkan, we label the points where our frame segments meet with a single Hebrew letter on each side of each connection.
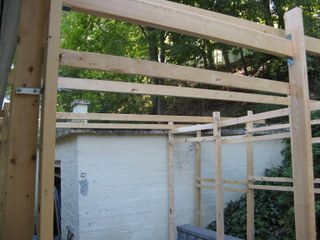
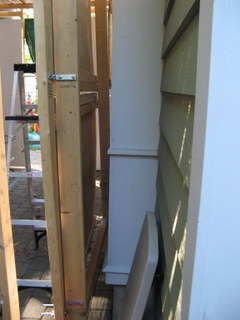
A closeup of the rear stuctural wall, looking back from the garage corner.
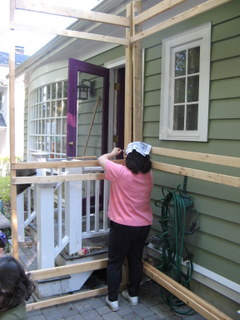
Now we start working on the side next to the house, which is much like the other side except that there is no curtain wall. Here, Heather assembles the first corner.
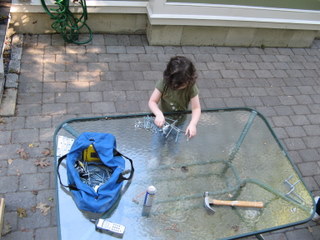
The kids continue to be great helps with the hardware.
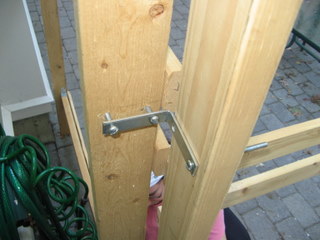
The porch corner, completed. In this case, since both sections will be hidden by panels, the bolts can go in the obvious directions.
Alissa got creative with the angle bracket pile. She called this her "staircase picture."
We make sure that the kids also get plenty of chances to work on the acutal assembly. Here, Tani is putting wing nuts on some of the bolts within his reach.
Alissa got even more creative, "building a house" out of the parts.
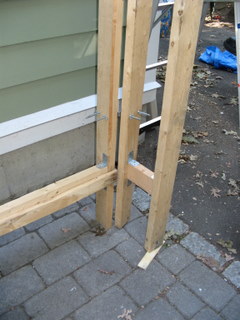
By the driveway, we have just a short return to keep the wall stable. Shims are a fact of life.
Tani, proud of his contribution.
Alissa continues to work.
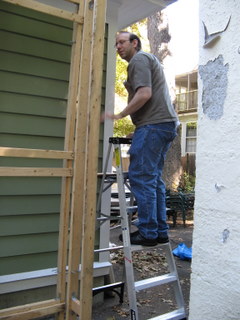
Andrew puts the finishing touches on the frame.
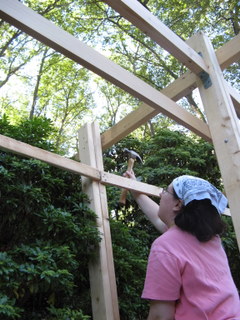
Heather starts to add the beams. By this point now, we've built two half-frames that are individually (mostly) stable but not connected to one another. Each side comprises three 4'-wide segments. We connect them with four main beams, each 2"x4"x10' and firmly attached to the relevant frame segments. The curtain walls hang from one end, the beam is nailed to the inner frame, and the other end is bolted to the frame by the house. Note: The bolts by the house for the middle two beams should be in place before those segments are attached to each other. The beams never go on the inside of the middle panels.
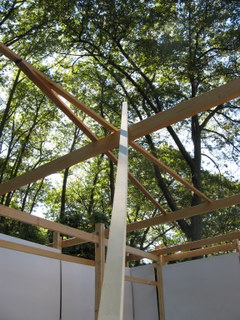
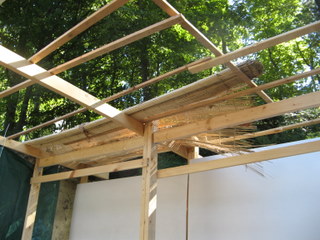
Here you can see the beams. This is the view from the driveway side. Note for future years: Start with the driveway side beam, and make sure the porch corner is tucked in as closely as it can get. Otherwise, the garage overhang of one inch is enough to throw everything off.
And this is the view from the porch.
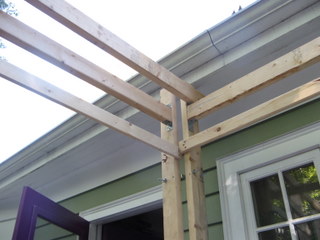
A closeup of the beam going in to the porch corner.
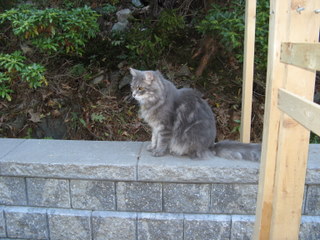
Our supervisor, Dusty.
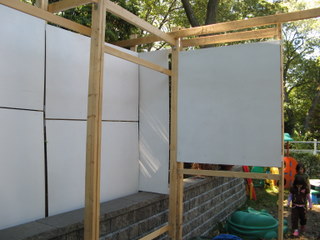
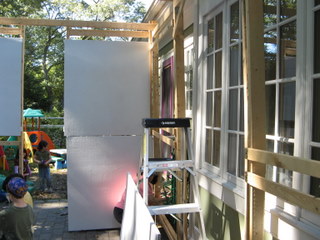
Once the frame is complete, we can start phase two: adding panels. Here is the panel that covers the gap between the curtain wall and the main frame.
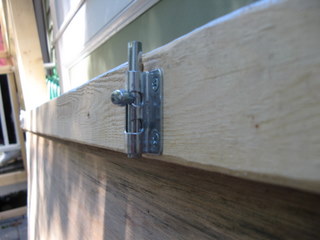
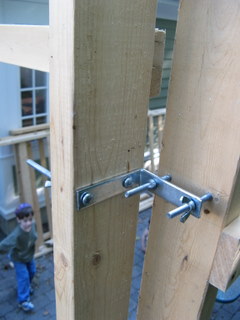
The panels are 4' square pieces of plywood, with a pair of 1x3s running near the top and bottom. These rest atop the pair of 1x3s nalied to each frame segment. We use sliding door bolts (depicted here in closeup) to latch them into place. (I'm quite proud of that innovation.)
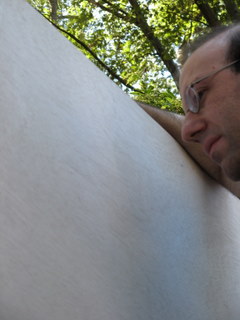
Here I am, lifting a panel into place. Note for future years: the curtain wall should be done left to right, bottom then top on each segment, to make sure that the fasteners stay within arm's reach.
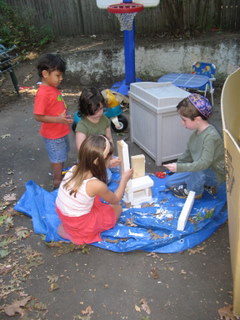
Meanwhile, the kids, along with their friends from next door, are building their own sukkah with scrap lumber.
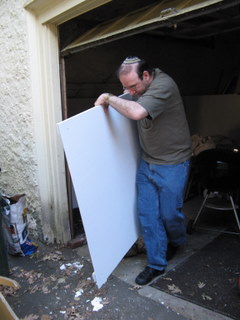
The panels are small enough and light enough that one person can carry a panel from the garage to the sukkah and install it. This lets us work in parallel for this portion of the assembly, and things go very fast now.
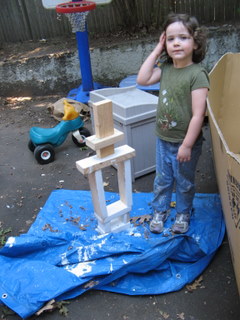
Alissa poses with the completed model. Not quite a sukkah after all.
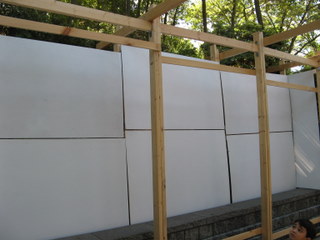
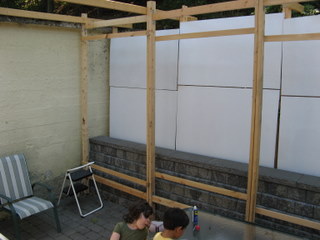
The curtain wall is complete, and the return is underway.
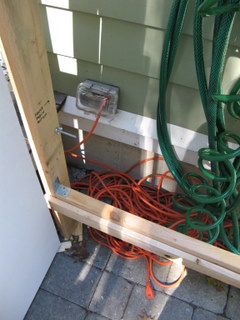
Power, which we'll need for the strings of Christmas Sukkot lights that we use for decoration and illumination.
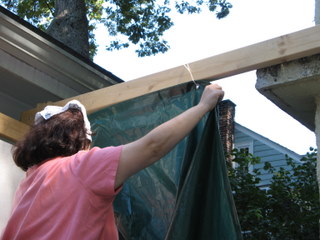
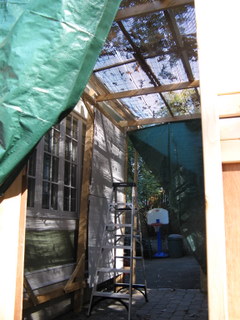
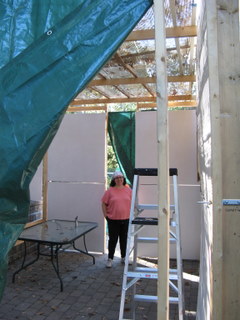
For now, we're using a heavy tarp for a curtain/door on both entrances. On the garage side, it also covers up the ugly garage wall which is one of the sukkah walls.
There's a little space between the sukkah and the house in the corner by the driveway. We call that the "closet" and use it to store the extra folding table, chairs, etc.
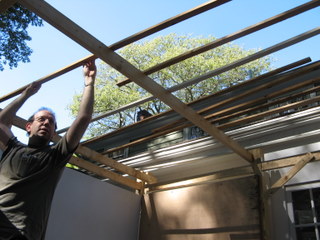
On to phase three: adding the crossbeams that will actually support the schach. Notes for next year: buy more 1x2s: 12' or even 14' long if you can get them home! And add a 1x2 beam parallel to the main beams to support the place where the two schach mats meet in the middle.
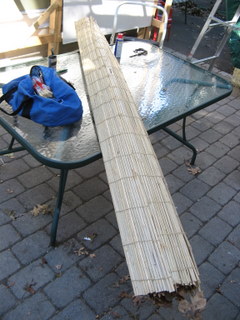
For schach, we use two large bamboo mats. They are lifted up via the retaining wall and unrolled across the beams.
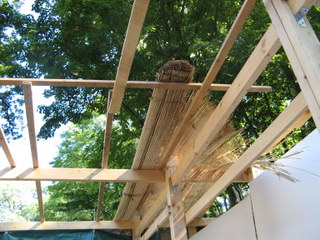
We first completely unroll the one nearer the garage, and once its position is finalized then we do the other one.
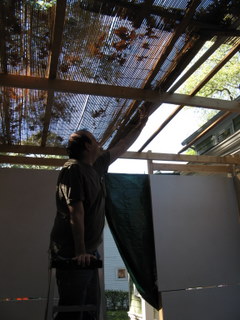


Once the schach is in position, we have a kosher sukkah! Note for future years: stint over the retaining wall; no one's going to sit there and the schach mats are exactly long enough to make it to the house wall with nothing left over.
Over the next few days, we'll decorate it and by Wednesday night we'll be ready to start eating all our meals in the sukkah. For the week of Sukkot, unless it's raining, we're supposed to think of the sukkah as our home and think of our home as the "outside."
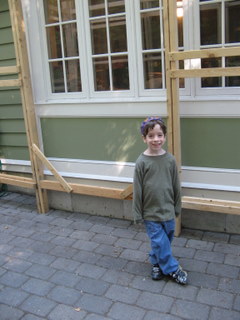
In the first picture, by the way, you can see that the kitchen windows are left unblocked by the design. (That's partly why the sukkah roof has to be so tall; we have casement windows and the schach is two inches above the top of the window.) We have a windowseat on the other side of this window, so we can open the windows and use the windowseat as a staging area for passing food and other supplies between our two homes. It also means our sukkah gets plenty of light from the kitchen.